'Ice Cream' Sandwiches
What better way to welcome a first Whole Therapies Blog Post than with a recipe? One that is ‘Ice Cream’ Sandwiches to boot! Making ice cream has been a meaningful activity in my life for a long time. I have memories of making it as a little girl with my mom and sharing it with my classmates at school. I remember the first time I chose to make it by myself when I was much older, using my late grandmother’s machine; I made a pint of cardamom pistachio, one of pumpkin and another of lemon. They were all exquisite. The memory of my grandma, my childhood and my new sense of independence all mixed in with the cream. When I reflect on my process of cooking and baking in general, I can see a picture of how I’ve evolved over the years. It is neat to see how my knowledge and interests have grown and changed, mixed in with values and traditions.
Now this particular recipe is not one made with traditional ice cream. Though I'm already thinking I’d like to share the cardamom pistachio cream here because, boy, it wasgood. This recipe is actually frozen yogurt. Now don’t run away because all your ice cream dreams have now melted before your eyes. I think you’ll be pleasantly surprised. I’ve decided to share this recipe for a couple of reasons:
- It’s super easy and quick to make!
- I love incorporating natural probiotics into meals, drinks and treats.
- The yogurt provides a thick, rich texture and blends well with the fruit (I actually doubled the batch and saved some in the fridge to have with granola and it’s just as good! Getting several meal and treat ideas at one time is the BEST over here!)
- The recipe is adapted from a post Green Kitchen Stories did a while ago and I adore this family and what they create in the kitchen so wanted to pay tribute to them here.
- Aaaaaaannnnnnd, we ate them for breakfast. Because really, this offering hosts the same ingredients we put in our yogurt and granola bowls except its frozen. So, why not?! Life is short. And sweet.
To start: Make some rhubarb and strawberry jam. This combo is in season and a popular choice on many food blogs right now. But, you can really use any berries with or without the rhubarb. I’m suggesting a portion that’s enough for this recipe alone, however if you double it you can make chia jam and or use it on yogurt, sundaes and pretty much anything your heart desires.
Rhubarb and Strawberry Jam
2 cups of rhubarb, washed and thinly sliced
2 cups of strawberries, washed and thinly sliced
3 Tbsp of honey
Pinch of salt
Splash of pure vanilla extract
Squeeze of lemon juice
Combine ingredients into a saucepan and simmer over low heat for about 15-25 minutes, until soft and ‘jammy’. Remove from heat and let cool completely. I like to do this step a day ahead of time, but an hour or two in the fridge is enough.
If you want to make chia jam, make a batch and a half or double batch of this and save the extra portion. Mix the extra portion with 3-5 Tbsp of chia seeds, making sure chia seeds are incorporated well into the fruit. Pour the jam into a jar and let it sit overnight in the fridge. Keeps for about a week. Also freezes well.
Next: make the raw sandwich. This list of ingredients is also versatile in the sense that the nut portion can be switched around depending on what taste you’re going for. I also think sunflower seeds would be delicious to try. Again, I like to make a double batch of this and save the extra portion for bliss balls. It’s so great to be efficient with time and being able to make a couple things at one without using extra dishes is always a good thing.
For bliss balls take the extra portion and roll it into Tbsp size balls. Place on parchment lined tray and let them harden in the freezer. You can keep them frozen and just take out portions as you want to eat them (letting them thaw a bit will make them gooier). You can also dip them in melted chocolate for a decadent treat. To make the chocolate just take 1.5 cups of dark chocolate chips, mixed with 2 Tbsp of coconut oil and melt in a double broiler.
Raw Sandwich
1.5 cups of raw almonds
1/2 cup of rolled oats
Pinch of salt
1 tsp of cinnamon
4 Tbsp of coconut oil
20 soft dates
Combine almonds, rolled oats, salt and cinnamon into a food processor and pulse until it turns to a fine crumb. I also like to play with leaving some chunkier bits of almonds for texture. The choice is yours! Once the crumb is ready, place the dry mix in a bowl for a moment. Add the dates and coconut oil to the food processor. I've also experimented with adding a nut butter in place of some of the coconut oil or in addition to and both options have worked well for me. The ratio is pretty forgiving. There is lots of room for play here. More nut butter will give the sandwich a gooier, nuttier taste. Purée the date and oil until a smooth ball forms. From here add the dry crumb to the container and pulse to combine.
Next: make your first sandwich layer. Line a 8” by 10” baking dish with parchment paper. The pan size is fun to play around with because it will affect the thickness of the sandwich. Press half the serving of raw sandwich dough into the pan to make it flat and smooth. Place in freezer.
Next: make the ‘ice cream’. This stage is another opportunity to double up. If you made extra jam, you can combine extra yogurt and jam to leave as a flavoured yogurt for granola or to enjoy with fruit or on its own. Again, will keep well in the fridge for a week.
‘Ice Cream’
2 cups of extra thick greek yogurt. (We use full fat, but you are welcome to play with low or fat free yogurt here.)
3 Tbsp of maple syrup
Full serving of cooled jam
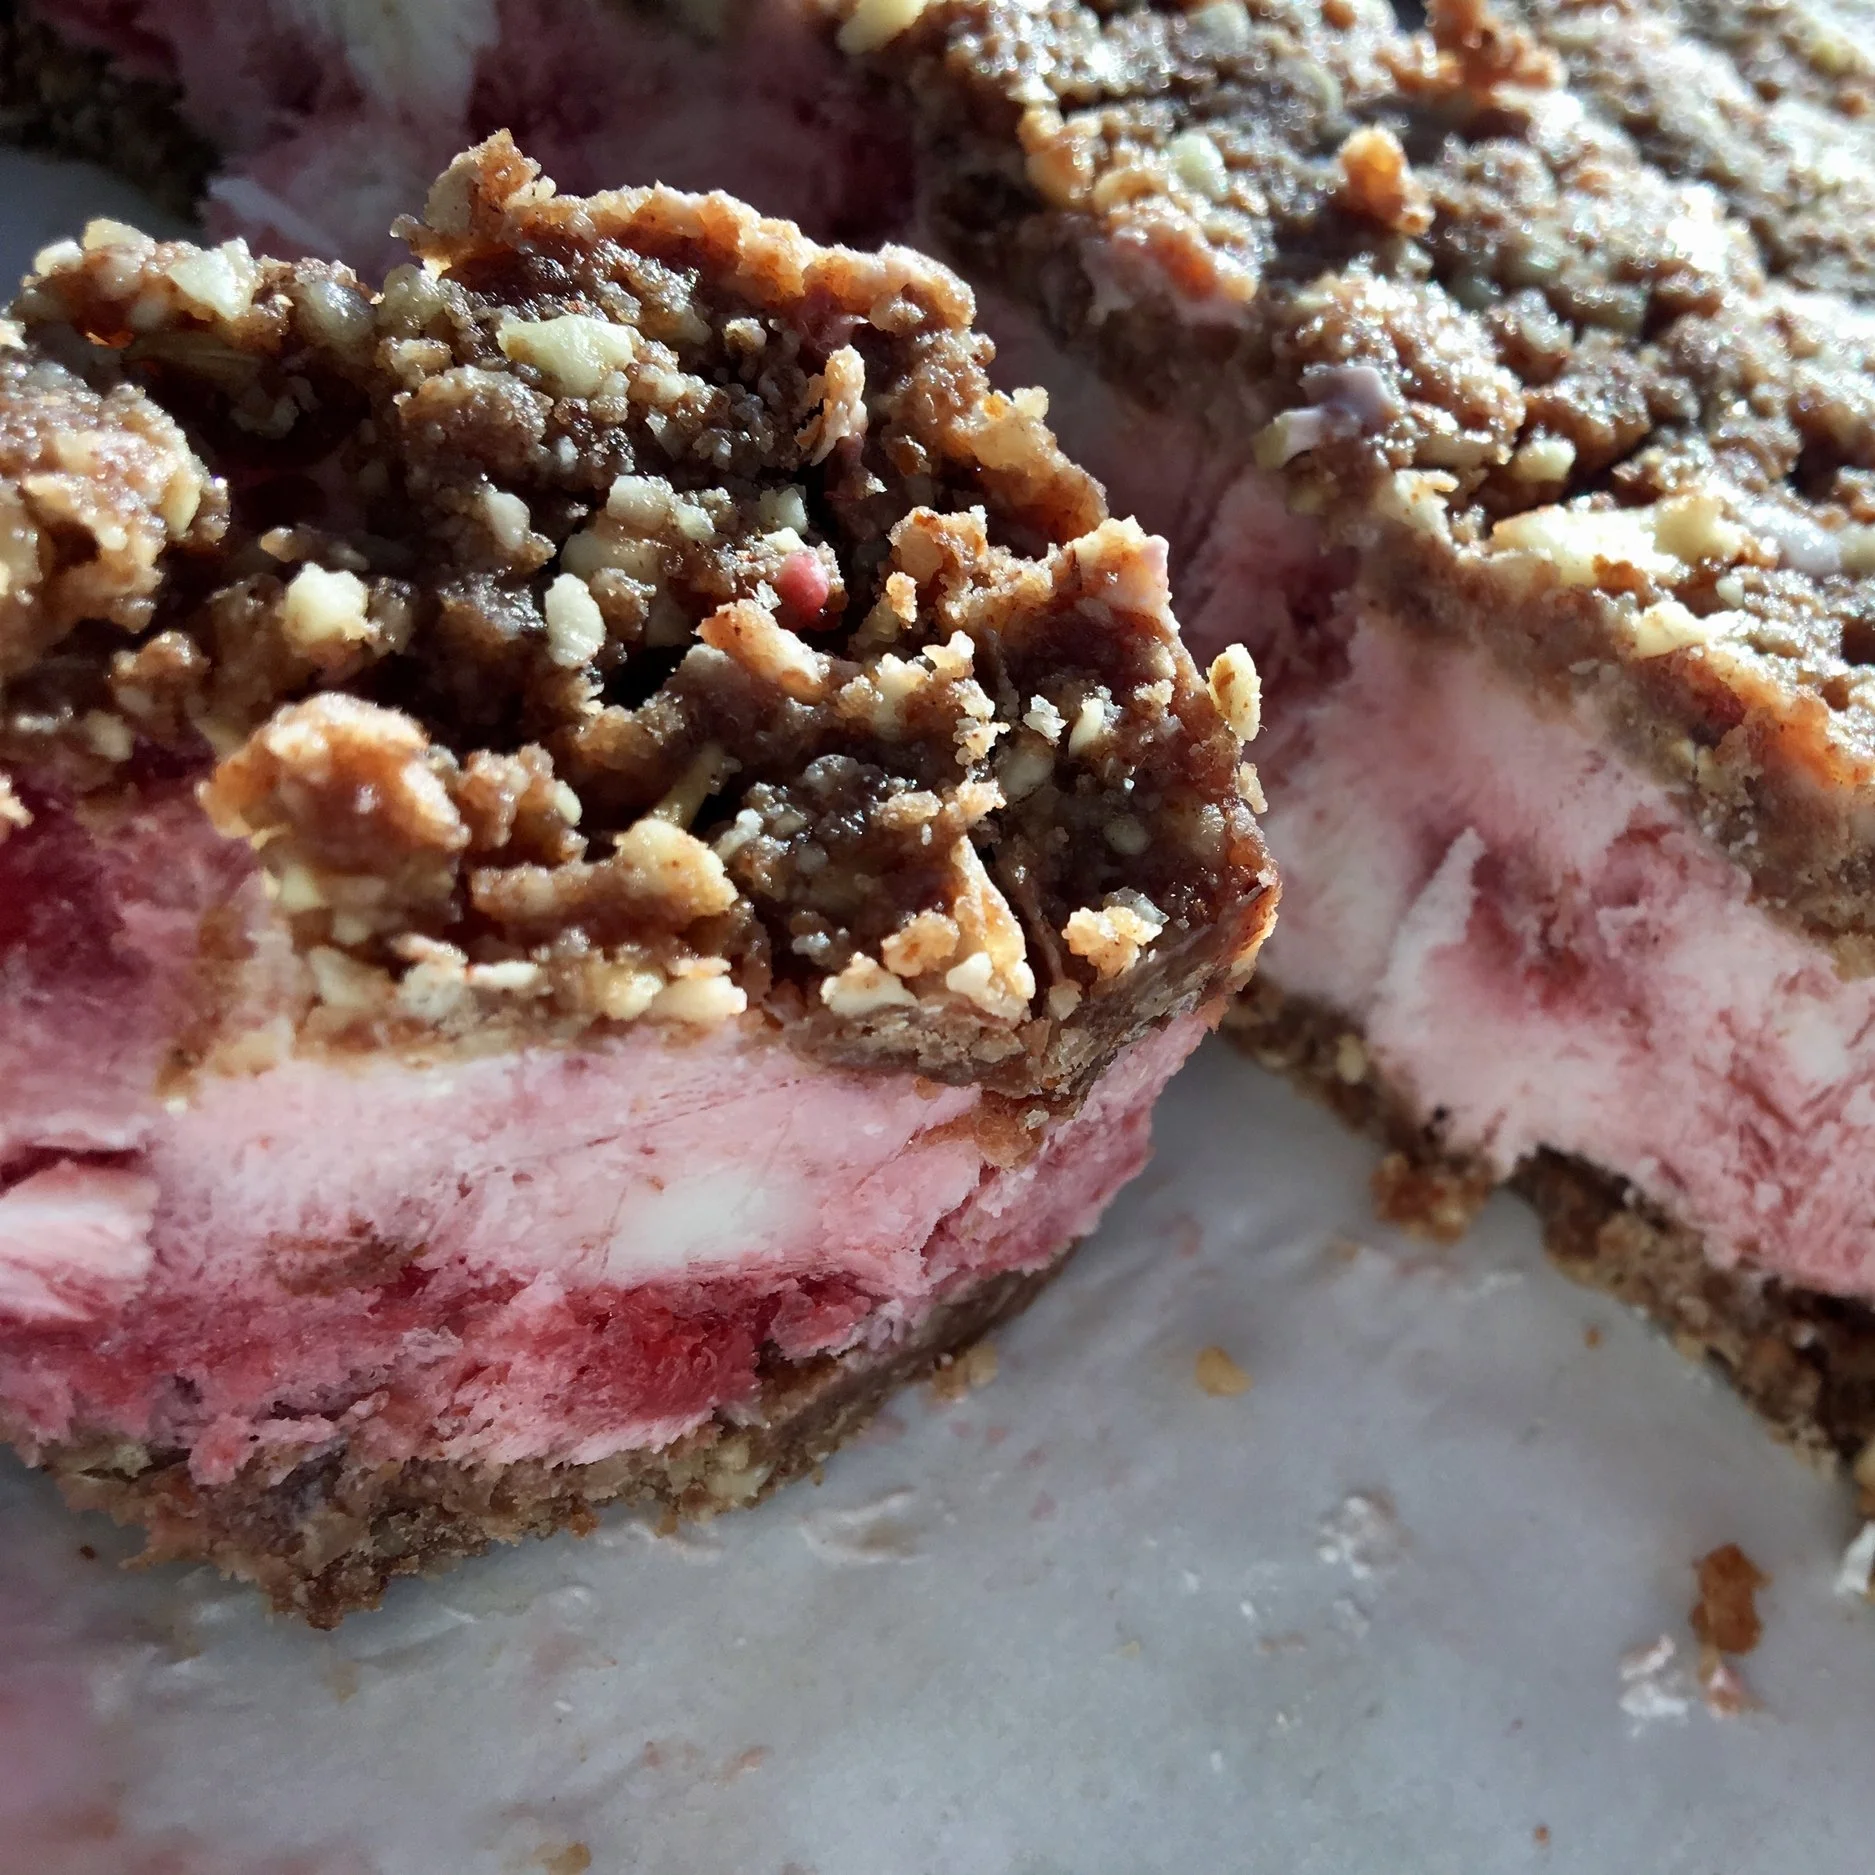
Assemble: Pour the ‘ice cream’ over the frozen sandwich layer and put the pan back in the freezer to freeze until firm (about 2-3 hours).
Once the ice cream is firm, press the remaining sandwich dough on top so it is flat and smooth, covering all the ice cream. Freeze again for another hour.
To serve: Remove from freezer and let soften for 15-20 minutes before serving. Stores well in the freezer in a sealed container for up to a month.
Enjoy!